10-Step Checklist for Home Remodeling in the Bay Area
Use this checklist for home remodeling in San Jose and the Bay Area, covering planning, budgeting, hiring, permits, construction, and final walkthroughs.
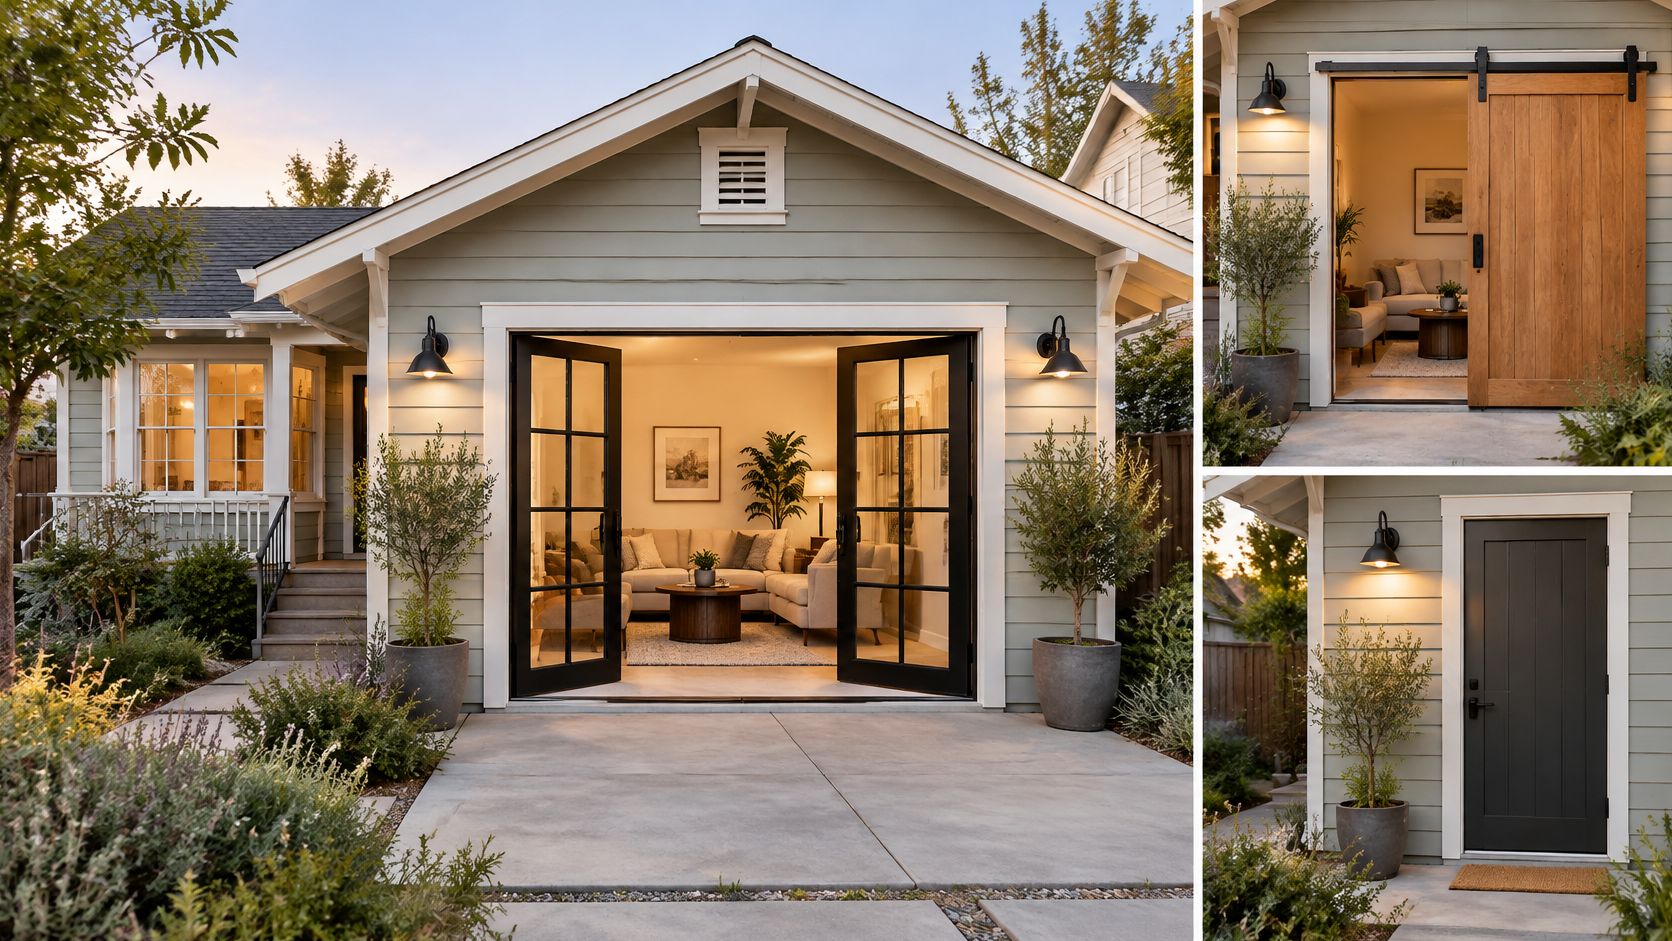
Say a San Jose homeowner hires a crew to convert a garage. Demolition starts Monday, and by Friday an inspector stops the job: no permit, no verified license on file, and no plan for the electrical panel. The crew has already cut concrete and removed drywall. Getting legal again can mean as-built drawings of what already exists, correction work, and a re-inspection before the project moves. The failure started with decisions skipped or made in the wrong order.
Budget overruns grow from the same soil. Materials, labor, and hidden repairs can each push costs up, and one surprise often triggers another. A usable Checklist for Home Remodeling forces the hard decisions early, before demolition turns unknowns into change orders. In San Jose and nearby Bay Area cities, that means separating what California sets statewide from what the local building department, zoning rules, and inspectors will enforce on your parcel.
The ten steps below follow that order: scope and zoning, budget, state versus local permits, contractor verification, design and energy compliance, utilities, existing conditions, legalization, and inspections. Homeowners weighing an ADU can compare cost and timing in the detached ADU vs garage conversion cost guide.
1. Define Your Goals and Project Scope
A primary suite addition starts as a scope decision: which rooms change, which systems extend, and what stays untouched. A bid is only comparable when every contractor prices the same work, so the written scope should list included rooms, systems, and exterior areas plus clear exclusions. A kitchen update, a suite addition, and a detached ADU need different drawings, permits, and trades. Vague requests produce vague prices.
Scale sets how much design work is enough. Harvard's Joint Center for Housing Studies defines a major professional kitchen remodel as costing more than $30,000 and a major professional bathroom remodel as costing more than $15,000 in its Improving America's Housing 2023 report. Those are historical benchmarks, not Bay Area quotes, but they mark the point where detailed plans and itemized pricing matter.

For that suite addition, the scope might include the bedroom, closet, bathroom, and HVAC extension, while excluding a new front porch until pricing is confirmed. For a detached ADU for a parent, put accessibility first: step-free entry and bathroom wall blocking for future grab bars. Project type also decides which permit desk and local checklist apply.
- Must-have list: Separate required function from optional upgrades in writing.
- Inclusions and exclusions: Ask each contractor to state both in the bid.
- Consultation packet: Bring photos, measurements, and a rough sketch of the existing space.
2. Research Your Property, Zoning, and Setbacks
A lot decides what can be built before a designer draws anything. Zoning controls land use and building placement. Setbacks are the minimum distances between a structure and the property lines, and lot coverage and height limits further restrict size. California sets baseline ADU standards, but each city or county applies local rules inside that state framework, so a San Jose answer isn't automatically a Sunnyvale or Fremont answer.
Preapproved plans don't erase site review. San Jose states that applicants using a preapproved design must still submit documents showing the ADU's location, utility connections, setbacks, and other zoning considerations through its ADU plan review and permit process. The city also excludes certain geohazard, landslide, flood, and Wildland-Urban Interface properties from same-day approval criteria.
A common fit problem
A narrow side yard may block a side addition while a detached backyard ADU still fits. A garage conversion depends on something else first, the permit status of the existing garage itself.
- Permit history: Request records from the city or county before design starts.
- Survey: Confirm whether a recorded survey exists, and order one if boundaries are unclear.
- Private restrictions: Check HOA rules and CC&Rs, which can be stricter than city rules.
- Official confirmation: Verify zoning with planning staff, not only a contractor summary.
3. Build a Realistic Budget With a Contingency
A construction price covers only part of a project budget. Design, permits, city fees, utility work, appliances, temporary housing, storage, and financing costs sit outside many initial bids. Averages can mislead here. Harvard JCHS reported average spending of approximately $4,700 per owner in 2023 in its Improving America's Housing 2025 key facts, a figure that mixes small repairs with large renovations and shouldn't be treated as a quote.
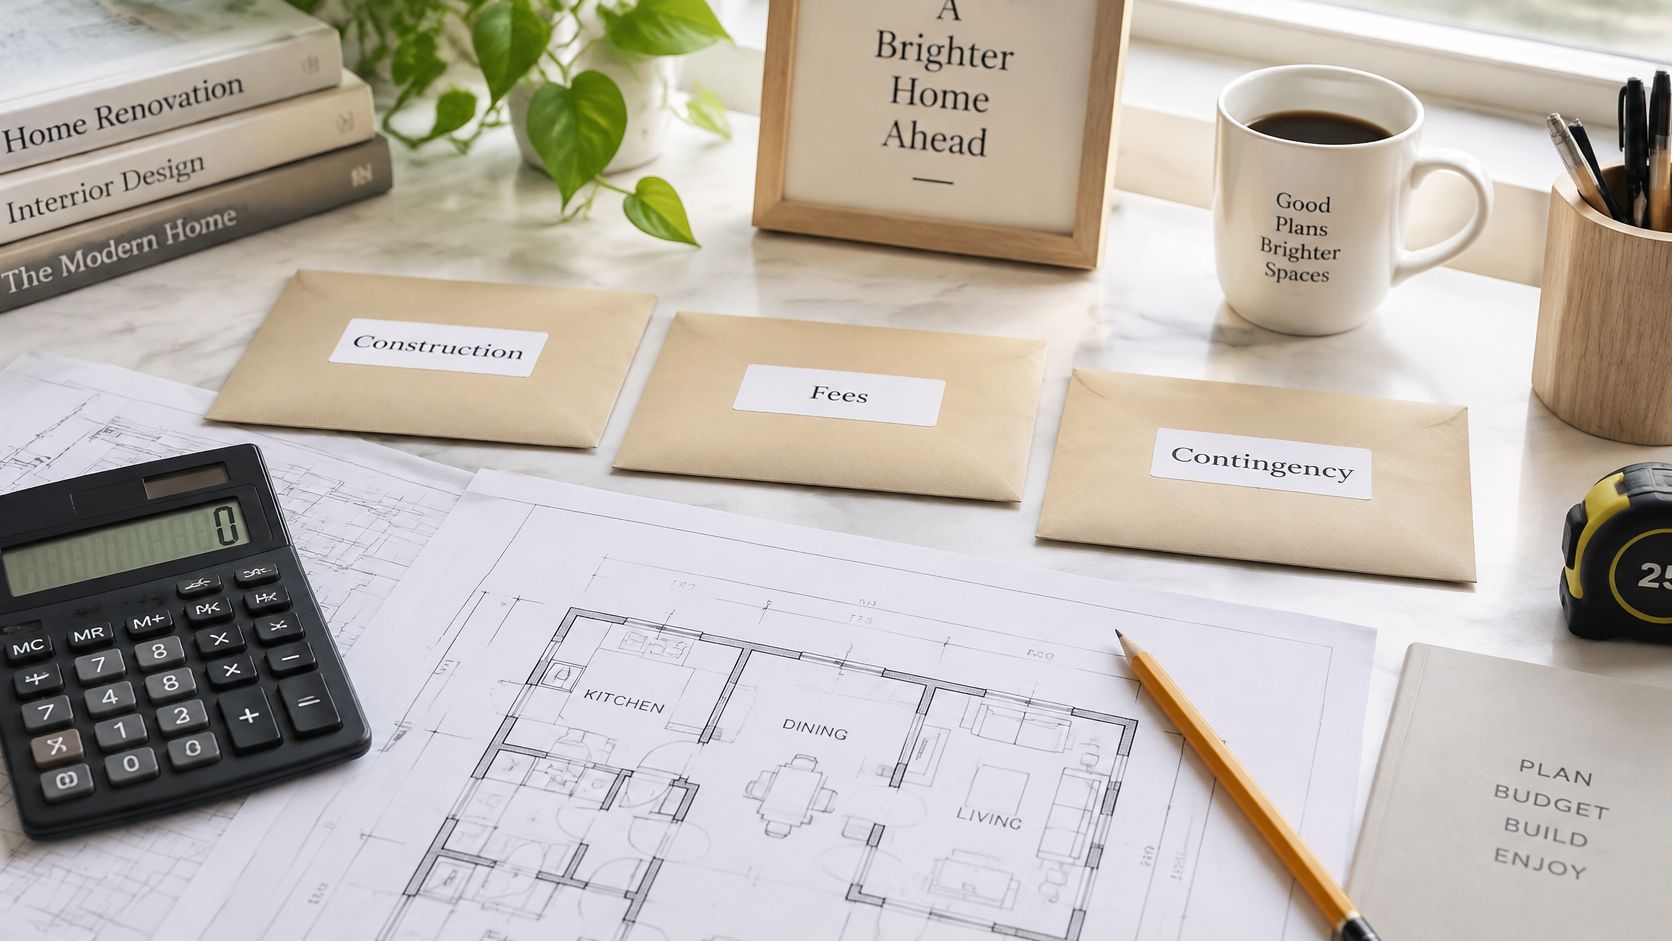
The useful budget separates fixed costs from allowances, which are placeholder amounts for finishes or appliances not yet selected. It also lists items that can't be priced confidently until demolition, such as damaged wiring or plumbing. Size the contingency to the uncertainty in the house rather than to a generic percentage. Older homes and garage conversions usually carry more uncertainty than a cosmetic bathroom refresh.
Practical rule: The contingency covers concealed conditions and should never fund finishes or upgrades at signing.
A kitchen bid that excludes venting a range hood through the roof leaves that cost hidden until rough-in, when moving ductwork gets expensive. An ADU budget can miss a utility trench, sewer lateral repair, or panel upgrade the same way. Permit and inspection fees add another variable, since San Jose, Sunnyvale, and Fremont each apply their own local fee schedules on top of state charges, and a bid written for one city won't price cleanly in the next.
- Itemized bids: Require inclusions, exclusions, and allowance amounts in writing.
- Stop and go decisions: List choices that must be settled before demolition.
- Cash-flow forecast: Map monthly payments, permit fees, and long-lead purchases.
4. Understand State Versus Local Permit Requirements
California sets statewide building standards through Title 24, the California Building Standards Code, and state ADU law sets baseline rules for ADUs. Cities and counties then add local fees, design standards, forms, and review procedures. That split explains why similar projects follow different processes in different Bay Area jurisdictions.
San Jose shows how detailed local review gets. The city's ADU package calls for building plans under Bulletin 211, owner-builder or contractor forms, an ADU property-owner declaration, a separate-address request, and a water-company letter reporting flow data at the hydrant closest to the lot, and the city warns that missing that letter can delay a project on its ADU permit service page. Title 24 calculations, CalGreen documentation, and sometimes a geotechnical investigation may also be required.
Homeowners comparing proposals should ask who prepares each document, who submits electronic plans, and who answers plan-review comments. A step-by-step overview in the ADU permit process guide helps frame those questions, but the property's own building department remains the authority.
- Fee exclusions: Ask whether school, parkland, inspection, or residual plan-review fees are outside the construction price.
- Reviews beyond building: Confirm design review, sewer or septic review, and utility approvals.
- Records: Keep approved plans and inspection cards for resale or refinancing.
5. Verify Your Contractor's License and Insurance
Verification takes minutes and prevents expensive arguments later. In California, the Contractors State License Board, or CSLB, licenses contractors and publishes license status, classification, complaints, and disciplinary actions. A logo on a truck or a number printed on a proposal proves nothing.
A CSLB search that returns an expired license is a pause point. Updated documentation should come before signing, along with certificates for liability insurance and workers' compensation coverage if the contractor has employees. Request certificates directly from the insurer, since copies a contractor hands over can be outdated.
The written contract does the work during a dispute. It should describe the scope, payment schedule, change order process, and warranty terms, and name who pulls permits and schedules inspections. Tie payments to completed milestones, such as a passed framing inspection, rather than dates on a calendar. License status is also only the state layer. Where a Bay Area city requires a local business license or registration before work starts, that is a separate check worth confirming on the same phone call.
- CSLB check: Verify status, classification, and complaint history before signing.
- Deposit caution: Avoid large upfront payments, because California law limits deposits for many residential projects.
- References: Ask for recent projects of similar scope, then call them.
- Change orders: Require written pricing and approval before extra work starts.
A low bid from an unverified contractor carries unpriced risk.
6. Plan the Layout, Design Choices, and Energy Compliance
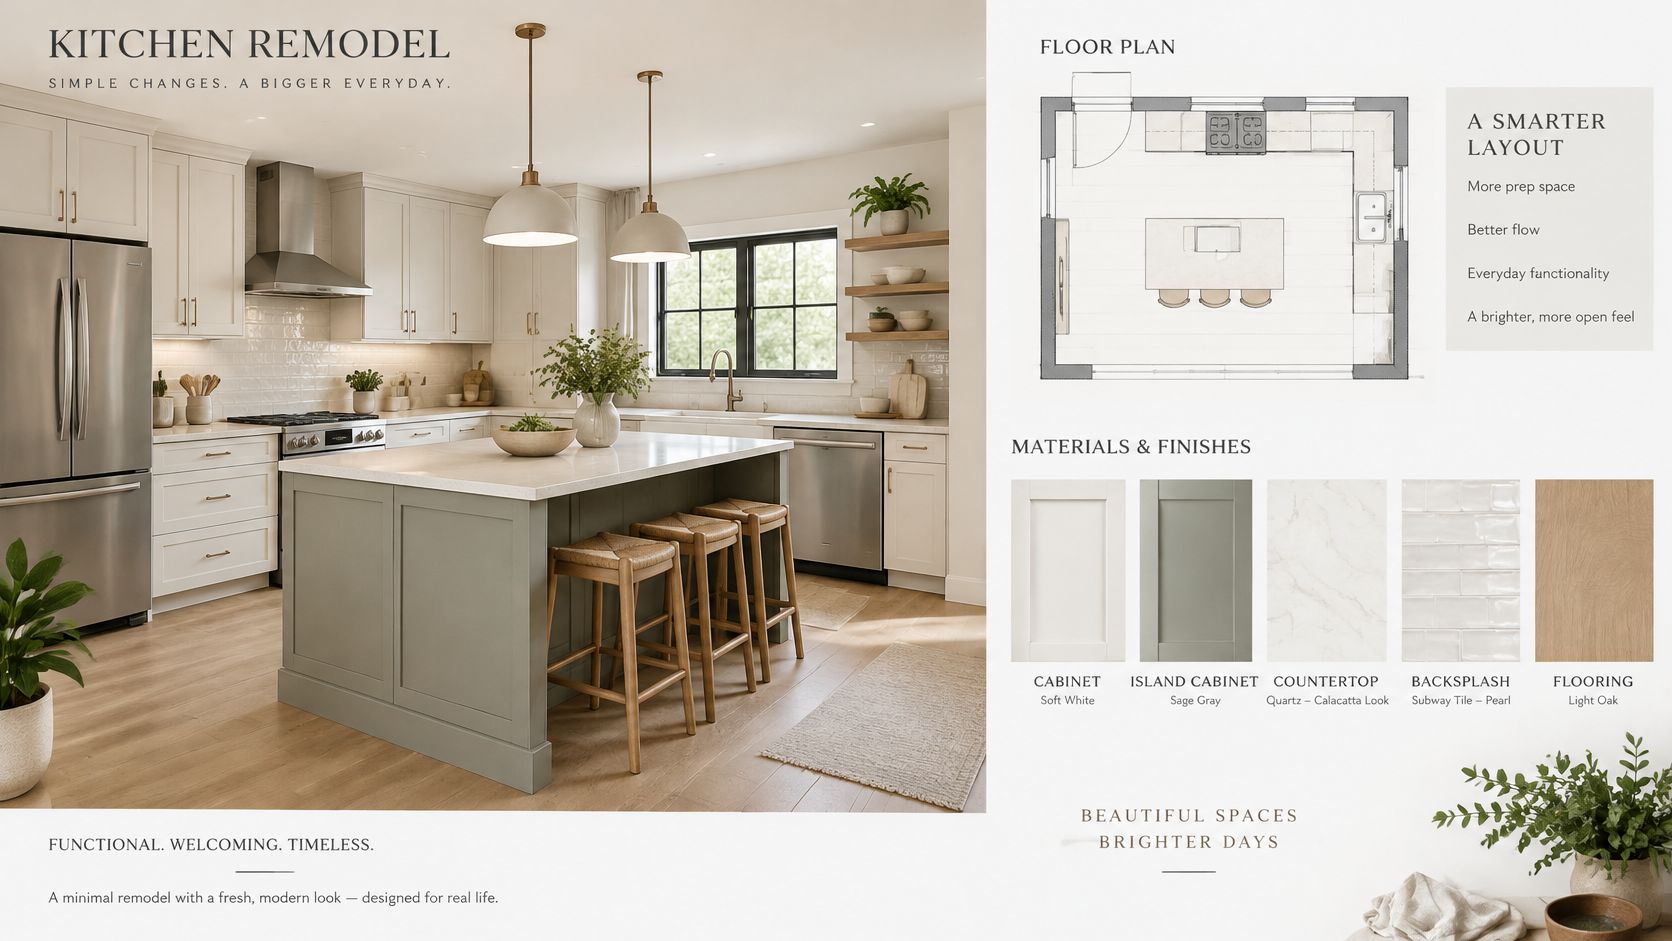
Layout mistakes are hard to fix after framing. Kitchens need clear work paths between stove, sink, and refrigerator, plus cabinet and walkway clearances. Bathrooms need fixture spacing, door swing, and ventilation. ADUs and garage conversions need privacy, daylight, storage, and independent access inside a small footprint. These are the decisions that cause change orders, because moving a wall on paper costs nothing and moving it after rough plumbing costs real money.
Demand for these rooms stays high. In 2024, kitchens and bathrooms each accounted for 24% of renovated rooms, while the median kitchen renovation spend was $22,000, according to the 2025 Houzz Renovation Trends Survey summary. A national median doesn't predict a Bay Area price, but it confirms where layout decisions carry the most financial weight.
Energy compliance belongs in design, not at permit intake. The U.S. Environmental Protection Agency estimates that air sealing with added insulation can reduce heating and cooling costs by an average of 15% under the ENERGY STAR seal and insulate methodology. California's 2025 Energy Code took effect January 1, 2026 for new buildings, major renovations, additions, and alterations, according to the California Energy Commission Energy Code update. That code is a state rule. What San Jose and neighboring cities add on top is local: setbacks, egress interpretation, and parking replacement get enforced by the local building department, so confirm both layers before finalizing drawings.
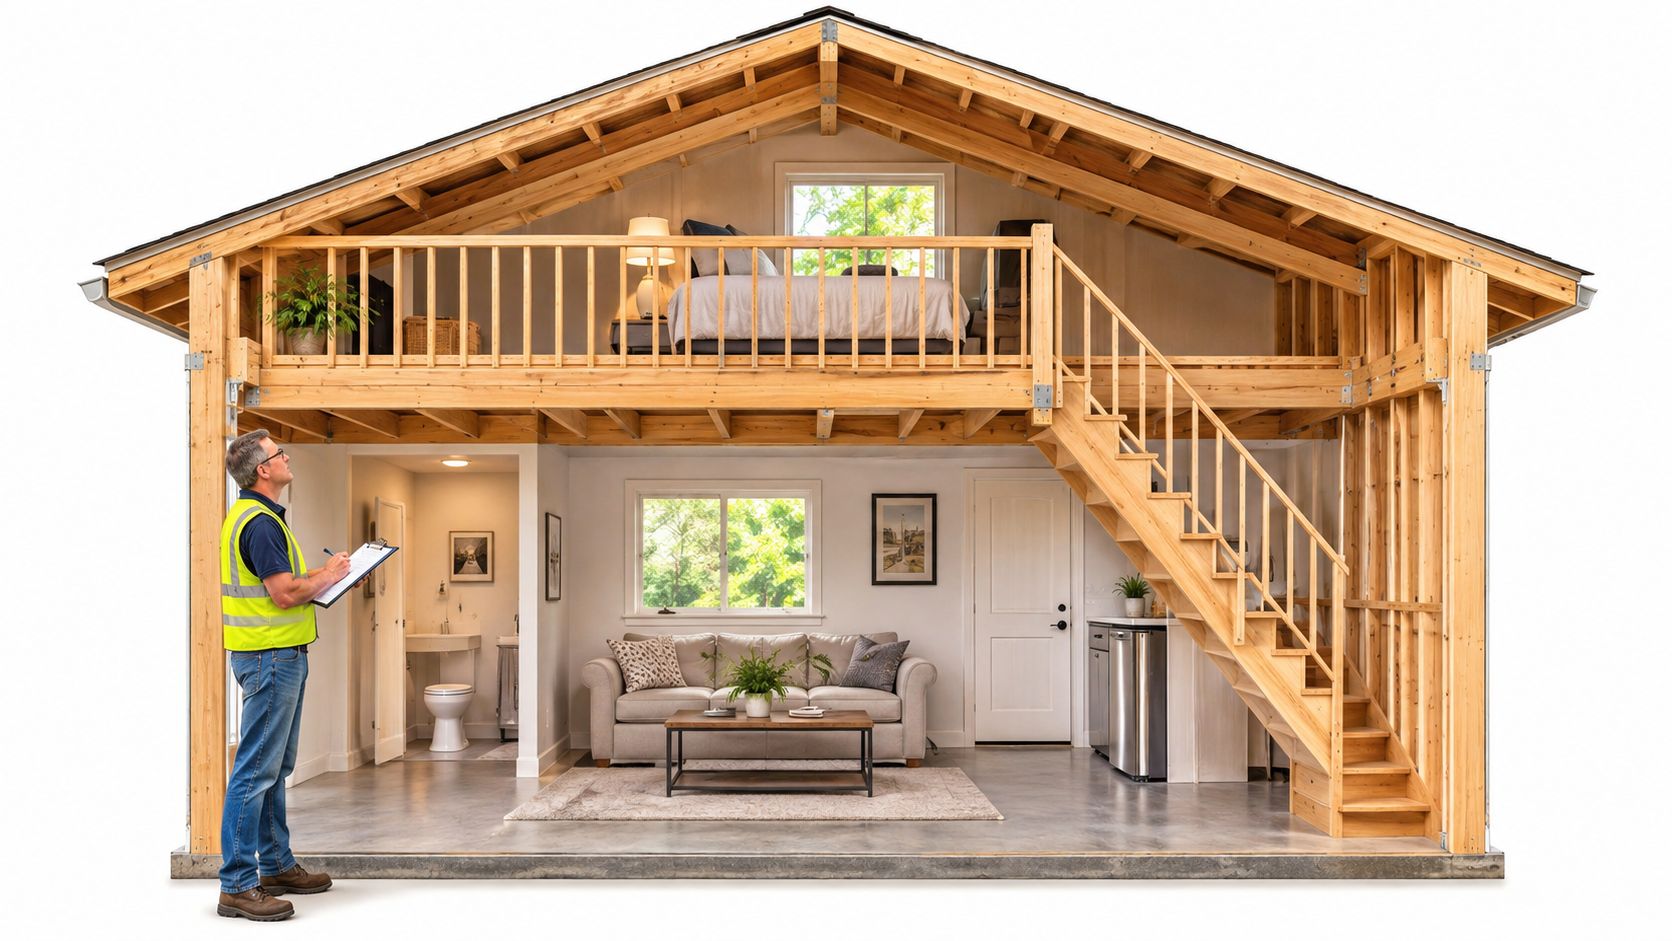
A bedroom window placed on a side wall brings daylight into a garage conversion, but it still has to satisfy egress, meaning emergency escape sizing, plus setback rules and energy ratings. The same conversion needs a minimum 7-foot finished ceiling, ventilation, and attention to parking replacement obligations before permit submission. I also recommend including a bathroom in a home office or studio conversion even when one isn't required, because adding plumbing later means opening finished walls. Keeping a kitchen sink on an existing plumbing wall is a similar trade-off: less design freedom, lower plumbing cost.
- Furniture test: Draw beds, sofas, and tables at scale before walls are final. For ADUs and additions, compare at least three layout options so you can weigh bedroom separation against kitchen size and storage.
- Envelope notes: Record insulation location, air sealing, flashing, and window ratings so the design matches what the energy documentation assumes.
- Equipment space: Confirm room for ducts, water heating, and electrical upgrades before the layout locks in.
7. Evaluate Utilities, Infrastructure, and Site Access
Utilities decide feasibility early, then loudly during construction. Electrical service, water supply, sewer or septic capacity, gas lines, and drainage may all need upgrades. A detached ADU often needs new lines from the main house or street, which means trenching, possible meters, and connection fees that never appear in a square-foot estimate.
Start with an electrical load calculation. That calculation shows whether the existing panel can support added loads such as a heat pump, induction cooking, EV charging, or a full ADU. Guessing at panel capacity leads to late redesign, because equipment location, framing, and exterior penetrations all change when service changes.
Utility questions are cheapest on paper. Once trenching starts, every unknown has an equipment charge attached to it.
A sewer lateral inspection for a planned ADU can reveal a damaged existing line. Repairing it before connection protects the new unit, but it changes budget and schedule, and some cities require that inspection at specific permit milestones, so confirm the timing with the local building department rather than assuming it.
Site access creates a parallel problem. A backyard project served only by a narrow side gate limits equipment size, material delivery, and debris removal, and those limits show up as labor cost long before anyone calls them a change order.
- Utility confirmation: Ask each provider about connection requirements and fees for the address.
- Camera inspection: Ask whether a sewer lateral scope is recommended before design ends.
- Access plan: Map staging, dumpster placement, and delivery routes with the contractor.
- Drainage review: Confirm where roof and site water will go after new construction.
8. Assess Existing Conditions, Structure, and Hazardous Materials
Existing buildings don't care what the new plan assumes. A garage conversion needs review of the slab, foundation, framing, roof, and fire separation from living space. An addition needs confirmation that existing footings and framing can carry new loads, or a design that carries those loads independently.
A small amount of paid investigation changes the whole risk picture. Opening a limited section of wall, checking slab moisture, or having a structural engineer review framing costs money before construction. It also exposes outdated wiring, plumbing damage, rot, or undersized structure while redesign is still cheap. The cheapest initial bid often skips this step and prices the unknowns later as change orders. Findings here feed the permit drawings, since structural corrections get reviewed by the local building department.
Older-home hazards
Homes built before 1978 can involve lead paint rules under the EPA Renovation, Repair and Painting program, and suspect materials may need asbestos testing before disturbance. That lead rule is federal, so it applies in San Jose the same as anywhere else, while the local permit office still controls demolition and disposal sign-off. A 1950s whole-house renovation therefore carries different demolition requirements than a newer home, even when the finished rooms look identical.
A garage slab without a vapor barrier will push moisture into finished flooring, and the floor fails. Slab repair or a moisture-control assembly belongs in the scope before finishes are selected, not after the first floor buckles.
- Engineer review: Ask whether foundation or framing needs a structural assessment.
- Testing: Request lead and asbestos assessment before demolition on older homes.
- Slab moisture: Confirm vapor conditions before selecting flooring for a garage conversion.
- Photo record: Document existing conditions before walls and floors are opened.
9. Address Unpermitted Work and ADU Legalization
A bedroom without a proper egress window can turn legalization into structural work. Enlarging the opening may affect framing, exterior finish, and setbacks, so price it as a code correction rather than a minor repair.
Legalization means documenting what exists, correcting code deficiencies, and obtaining approvals. Some corrections are simple, such as alarms. Others involve structure, fire safety, insulation, plumbing, or electrical work hidden inside finished walls. For a garage conversion, review the minimum 7-foot finished ceiling height, egress windows, ventilation, and parking replacement obligations before submission.
San Jose applies the AB 2533 legalization path through a local submittal standard. The city says a unit without factual records showing construction before January 1, 2020 must instead be permitted under current building code as a new ADU or JADU on its AB 2533 legalization FAQ page. A submission also needs a detailed site plan, scaled as-built plans, exterior photographs, and a completed Substandard Building Checklist.
That documentation standard shapes both the scope and the hiring decision. Ask whether the contractor will perform an existing-condition assessment, prepare as-built drawings, price required corrections separately from optional upgrades, and coordinate inspections. For a home office or studio garage conversion, include a bathroom in the scope even when one is not required, so plumbing and layout are decided while the correction package is being drawn. A bundled number hides whether money is going toward legalizing the unit or remodeling it.
- Eligibility first: Ask the city whether legalization applies to the specific unit.
- Records search: Gather permits, plans, and inspection history before design.
- Use caution: Avoid rental use until approval, and confirm local rental rules with the city.
10. Create a Project Schedule and Plan for Inspections
A single promised completion date tells a homeowner almost nothing. A useful schedule shows milestones in sequence: design, permitting, site preparation, foundation, framing, rough-in plumbing, electrical and mechanical work, insulation, drywall, finishes, and final inspection. Rough-in means the pipes, wires, and ducts installed before walls are closed, and each stage typically needs inspection before the next covers it.
Permit review, cabinet and appliance lead times, subcontractor availability, weather, and outside utility agencies all move dates. Treat the schedule as an estimate built on dependencies. Homeowner decisions belong on it too, because late tile, fixture, or appliance selections stop trades just as effectively as rain does.
Cabinet delivery is the sequencing risk that catches most kitchen remodels. Demolition before cabinets are confirmed can leave a household without a working kitchen for far longer than planned. An ADU schedule carries a different dependency, since utility connections and inspections may wait on agencies outside the contractor's control. Reviewing the full ADU permit process sequence before construction starts helps place those waits on the calendar where they belong.
Inspection timing also splits between state and local rules. The building code sets what gets inspected, while the local building department sets how inspections are requested, how far ahead they book, and how corrections and reinspections are handled. Those procedures differ between San Jose and neighboring cities, so ask the permit counter what the inspector expects on site before each milestone.
- Milestone schedule: Ask for estimated durations by phase rather than one end date.
- Decision deadlines: Confirm selection dates for finishes and appliances in writing.
- Inspection readiness: Schedule inspections only after required work is complete and photographed.
- Float: Keep buffer time for corrections and reinspection.
9Builders coordinates design, permitting, construction, and final inspections for remodeling and ADU projects across the Bay Area.
What Each Checklist Stage Produces
Every stage should end with paper, not just a verbal update. If a stage produces nothing you can file, it isn't finished. The table below lists what each stage should hand you and what to request before moving on.
| Item | Main Output | Who Usually Leads | What to Request |
|---|---|---|---|
| 1. Define Your Goals and Project Scope | Written goals, priorities, and defined project scope | Homeowner | A scope document listing what's included and what's excluded |
| 2. Research Your Property, Zoning, and Setbacks | Property constraints and feasibility findings | Homeowner with city or county planning staff | Written zoning confirmation or planner notes on setbacks and allowed uses |
| 3. Build a Realistic Budget With a Contingency | Itemized project budget with contingency reserve | Homeowner with contractor or lender | An itemized bid with allowances spelled out line by line |
| 4. Understand State Versus Local Permit Requirements | Permit requirements, application documents, and inspection steps | Contractor or design professional with local departments | Copies of the permit application, fee receipts, and any correction lists from plan check |
| 5. Verify Your Contractor's License and Insurance | Verified license, insurance, and written contract | Homeowner | The license number, run through the state license lookup, plus a certificate of insurance |
| 6. Plan the Layout, Design Choices, and Energy Compliance | Functional design, finish selections, and energy documentation | Designer or architect with homeowner | At least three layout options and the Title 24 or CF1R compliance forms |
| 7. Evaluate Utilities, Infrastructure, and Site Access | Utility and access assessment with upgrade needs | Contractor or design professional with utility providers | Written confirmation of service capacity and any required upgrade quotes |
| 8. Assess Existing Conditions, Structure, and Hazardous Materials | Structural and hazardous-material assessment | Structural engineer or qualified specialist | The engineer's report and lab results for any hazardous-material testing |
| 9. Address Unpermitted Work and ADU Legalization | As-built plans, required corrections, and approval records | Homeowner with designer or contractor and local officials | As-built drawings and the final signed-off permit card |
| 10. Create a Project Schedule and Plan for Inspections | Milestone schedule with inspection stages | Contractor with homeowner and local inspectors | The phase-by-phase schedule and a copy of each inspection sign-off |
Keep every one of these documents in a single folder. They matter twice: once during the job, when they resolve disputes about scope and payment, and once after it, when a future permit application or buyer asks what was done and who approved it. A remodel that can't show its paper trail gets priced as if the work might not have been permitted at all.
Turn the Checklist Into a Plan You Can Act On
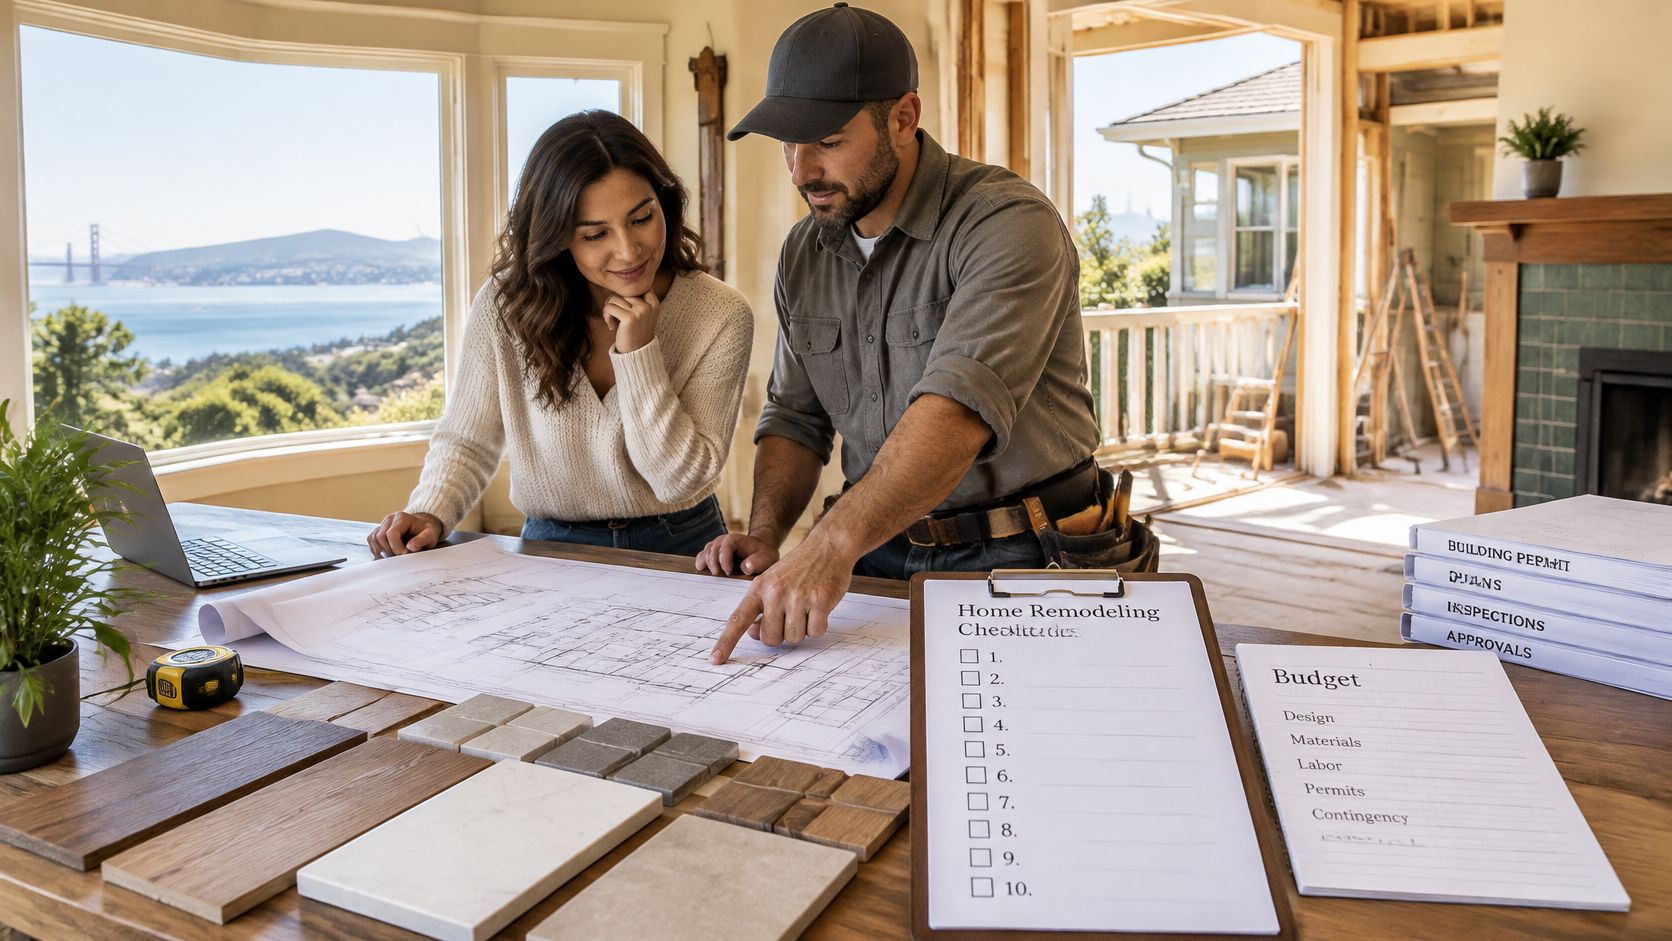
A checklist for home remodeling turns into a plan when every line has an owner, a date, and paper behind it. Before demolition starts, run this sequence in order:
- Pull the property's permit history and flag any unpermitted work, since unresolved work can change the project type or force legalization before new work begins.
- Order the investigations the building's age calls for: a sewer camera inspection, a structural review, and hazardous materials testing on an older home.
- Confirm utility realities early, including electrical panel capacity, water and sewer connection points, and site access for crews and deliveries.
- Get each bid itemized against the same scope, split into construction, design, city fees, utility connections, allowances, and contingency, and ask what is excluded as directly as what is included.
- Verify the contractor's license and insurance, then write the payment schedule, change order process, and inspection responsibilities into the contract.
- Set a milestone schedule that names homeowner decision dates, inspection points, and outside agency dependencies.
- Keep copies of approved plans and inspection records where you can find them years after move-in.
Spending on investigation before demolition prices the building as it exists.
During bidding, three questions separate a usable proposal from a guess. Ask how allowances are priced and what happens when selections run over, how change orders are approved, and who pulls the permit and schedules each inspection. Answers that stay vague at this stage rarely improve after the contract is signed.
Permit details belong to the jurisdiction, not the checklist. California sets the building code and ADU baseline, while the city or county controls submittal forms, fees, and review procedure, so confirm requirements with the office that will stamp the plans.
Layout choices sit near the end of the sequence because they interact with everything above them: panel capacity, ventilation, equipment space, and framing all move when a wall or appliance location changes. Homeowners weighing kitchen configurations can work through clearance and layout trade-offs in the open concept kitchen remodel guide, and ADU owners can apply the same thinking in the ADU floor plan rental income guide, keeping in mind that rental outcomes are never guaranteed.
Treat every date as an estimate and the contingency as untouchable until the project proves otherwise. The checklist's job is done when the paper trail, the schedule, and the money all match the scope it started with.
9Builders offers ADU construction, garage conversions, ADU legalization support, kitchen and bathroom remodeling, whole-house renovations, and home additions for San Jose and Bay Area homeowners, with support from design and permitting through construction and final inspections. To talk through a property, project goals, and budget before requesting bids, visit 9Builders and start the conversation there.
Published via the Outrank app