How to Design Kitchen Layout for a Bay Area Home
See how to design kitchen layout with triangle sizes, 42-inch aisles, and Bay Area checks before hiring a contractor.
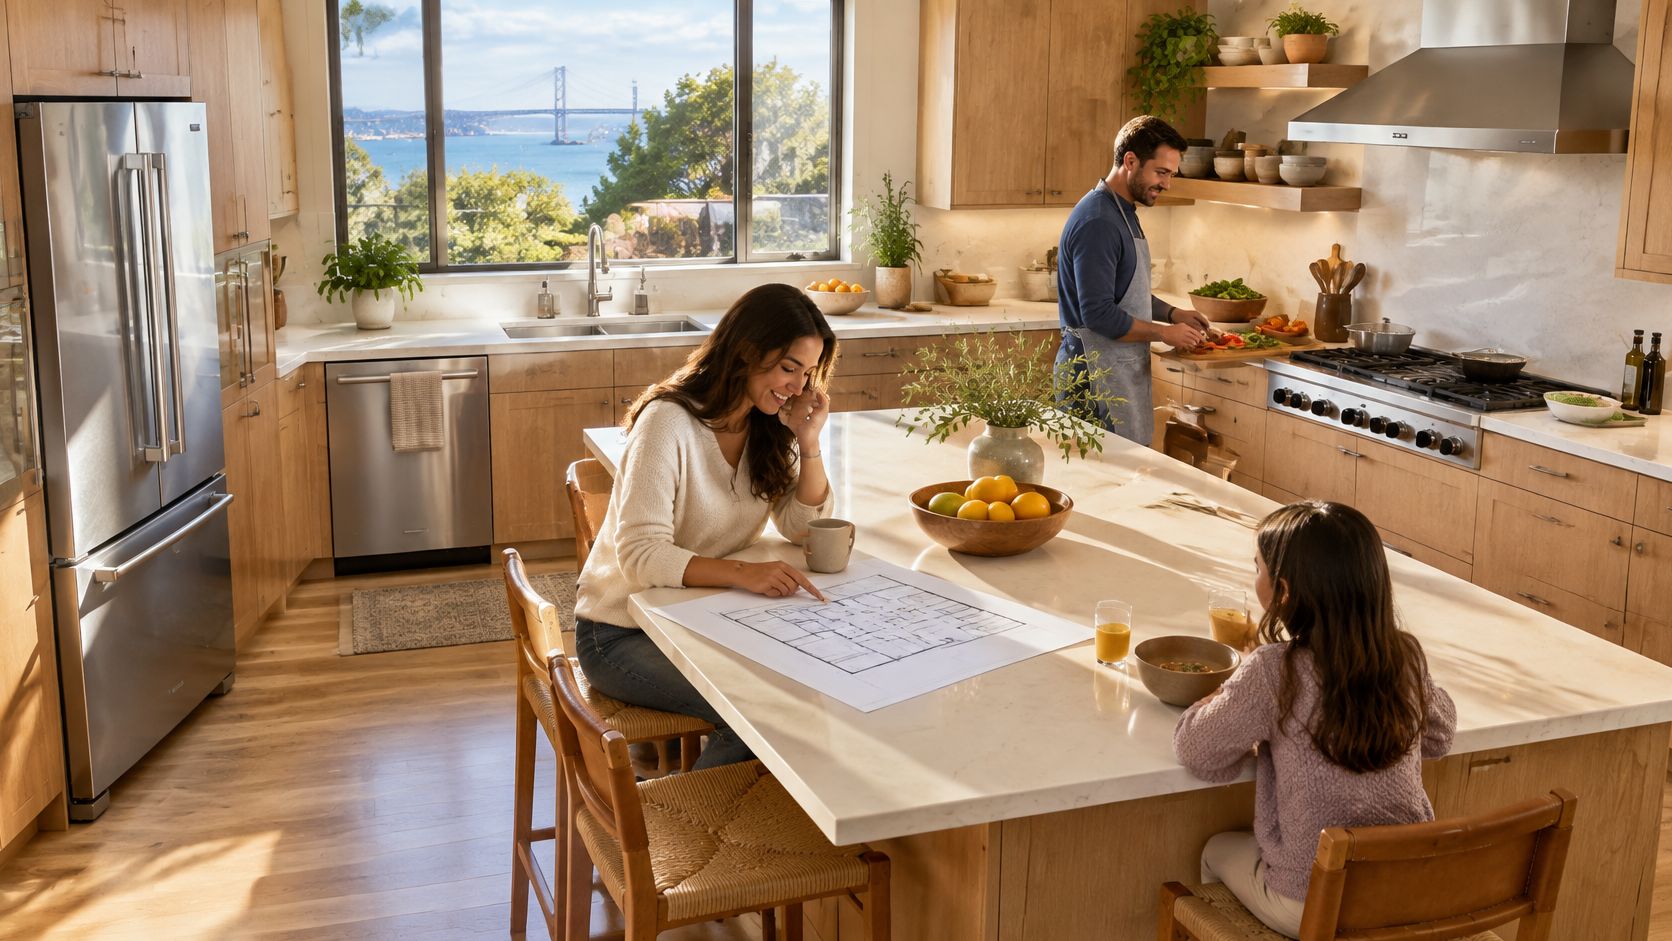
It's 6:30 on a San Jose weeknight. One person is trying to drain pasta, someone else opens the refrigerator for salad, and a child is parked at the counter with homework. Nobody has room to move, and the dishwasher door blocks the only path to the sink.
That scene, not a cabinet finish, is the right starting point for how to design kitchen layout decisions. A kitchen that fails when two tasks happen at once won't be fixed by nicer doors or a few extra square feet. Tape the plan on the floor, measure the walks, and test simultaneous tasks first. Style comes after the layout passes those checks.
Kitchen Clearances Worth Measuring First
Start with painter's tape on the existing floor. Mark proposed counter fronts, the island footprint, and open appliance doors, then act out the weeknight scene inside the tape. If two people can't pass without turning sideways, the sketch has already failed, no matter how good it looks on paper.
The Work Triangle as a First Test
The work triangle joins three centers: refrigerator storage, the main sink, and the cooking surface. The National Kitchen & Bath Association kitchen planning guidelines recommend 4 to 9 feet for each leg and 26 feet or less for all three combined, measured from the center front of each appliance or sink. A leg shouldn't cross an island or peninsula by more than 12 inches, or the cabinet ends up blocking the direct walk it was supposed to support.
Treat the triangle as a screening tool. Modern kitchens add dishwashers, microwaves, coffee stations, and second cooks, so a plan can pass the triangle and still produce collisions. What the numbers do well is catch extremes. Legs under 4 feet crowd hot pans against cold storage, and legs over 9 feet turn dinner into laps around the island.
| Check | Target | How to measure | Source |
|---|---|---|---|
| Each work-triangle leg | 4 to 9 ft | Center front of fridge, sink, and cooktop | NKBA |
| All three triangle legs combined | 26 ft or less | Add the three center-front legs | NKBA |
| Island or peninsula crossing a leg | 12 in or less | How far the cabinet blocks the straight path | NKBA |
| Work aisle, one cook | 42 in | Counter front to counter front, tall cabinet, or appliance face | NKBA |
| Work aisle, two cooks | 48 in | Same counter-front measurement, never bare walls | NKBA |
| Pass-through opposing counters | 40 in minimum | Between cabinets, counters, appliances, or walls | NKBA |
| U-shape closed on three sides | 60 in minimum | Opposing clearance for turning and open appliances | ADA |
| Clear floor at an appliance | 30 by 48 in | Unobstructed; may overlap where the guideline allows | ADA |
| Accessible work surface in a covered unit | 30 in wide | Include required knee and toe space | ADA |
Work Aisles Versus Walk-Through Space
A work aisle is where the cook stands and opens doors. A passageway is where everyone else walks. Mixing the two is the most common tape-test failure, because a route to the backyard that cuts behind the range puts traffic exactly where pans get lifted.
Leave 42 inches between counter fronts for one cook and 48 inches when two people work at once. Measure counter front to counter front, tall cabinet, or appliance face. Wall-to-wall numbers flatter the plan because counters and handles eat into the gap.
Practical rule: If the taped aisle only works when the dishwasher and oven stay closed, it doesn't work. Open both on paper before approving the sketch.
The ADA rows in the table matter most for households with aging members or wheelchair users: wider opposing clearance in a closed U-shape, clear floor space at each appliance, and knee room under one work surface. Cities apply those standards unevenly to single-family remodels, so read them as planning checks that protect future flexibility rather than as guaranteed permit demands.
Drop any sketch that misses the leg lengths or the cook aisle. Redrawing on paper is cheap. Moving plumbing later isn't.
How to Design the Layout from Daily Tasks
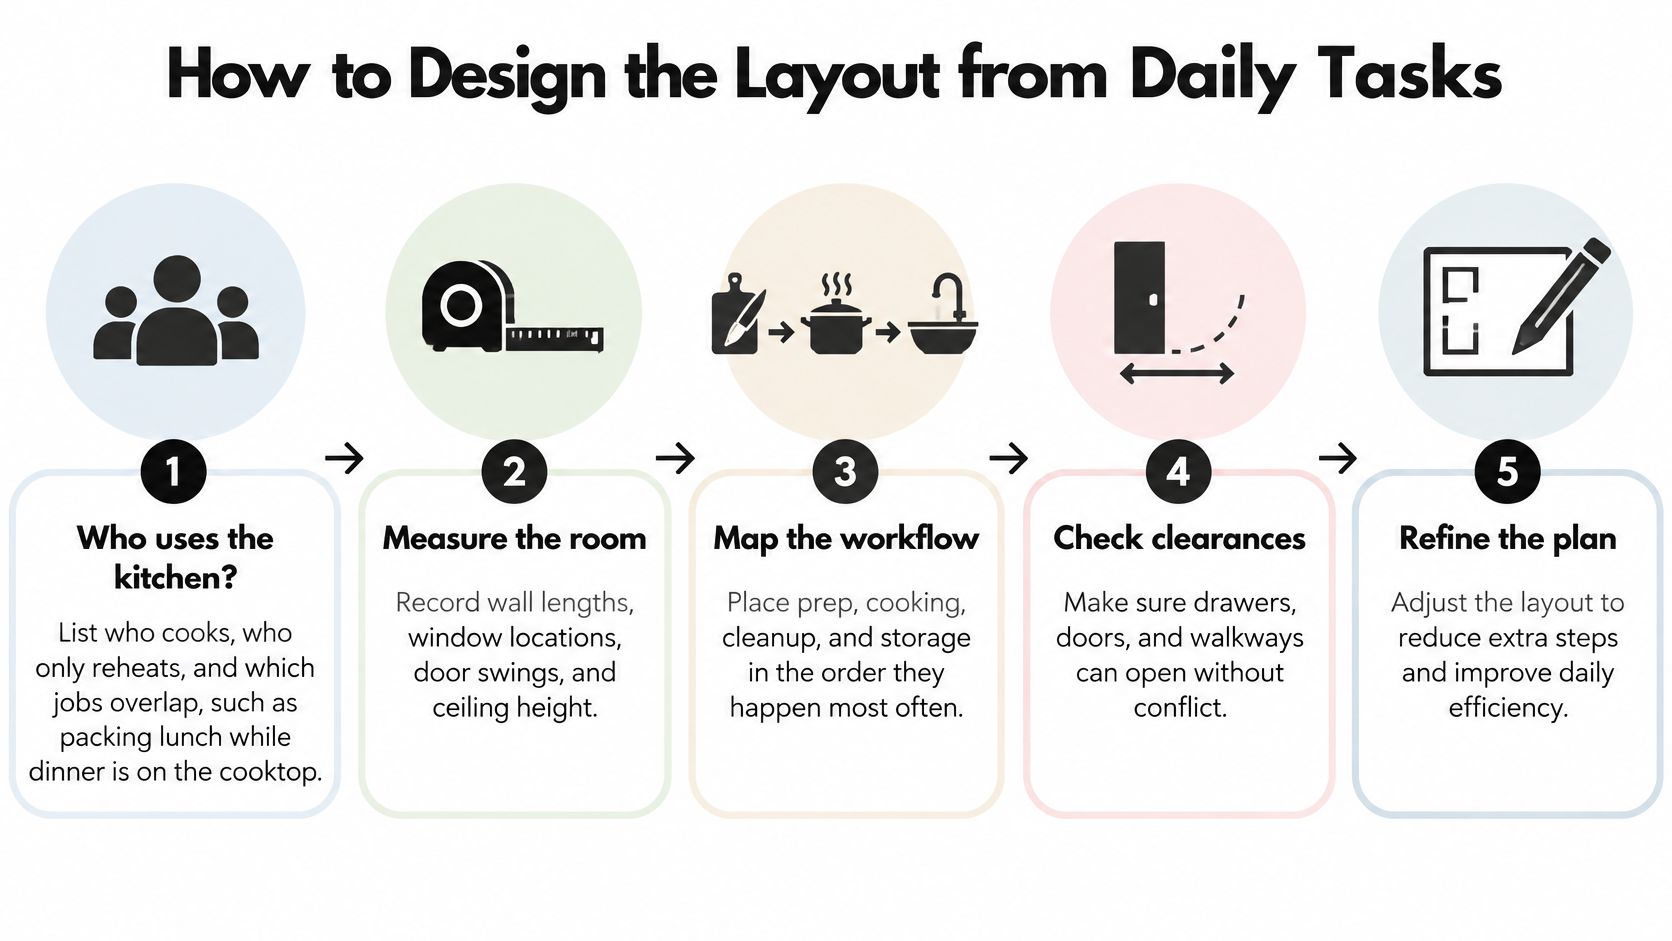
Shape comes last. A kitchen earns its footprint by serving what the household does at breakfast and dinner, and the sequence below builds the layout from those tasks before any shape gets chosen. Ergonomic research summarized in an Indiana University study on kitchen ergonomics notes that the triangle alone can overlook body size, maneuvering space, and multi-user kitchens, which is why door swings and a 30-by-48-inch clear floor area at every appliance matter alongside triangle legs.
A Seven-Step Planning Sequence
List the users and overlapping jobs. Note who cooks, who only reheats, and which tasks collide, such as packing lunch while dinner is on the cooktop. A layout for one solo cook fails fast when a second person needs the sink at the same moment.
Measure the room as it exists. Record interior dimensions, ceiling height, window positions, door swings, and where water, gas, and venting already run. Existing utility routes are a budget fact, not a detail for later.
Place the three work centers first. Mark the refrigerator, cleanup sink, and cooking surface, then fit the dishwasher, microwave, and pantry around them. Secondary appliances placed first tend to steal the best counter runs.
Trace food and traffic separately. Draw groceries moving from entry to storage, prep, cooking, serving, and cleanup in one color. Draw through-traffic in another. Where the colors cross behind the range, the plan needs work.
Draw every door swing and clear floor. Put an unobstructed 30-by-48-inch rectangle at each appliance, overlapping where guidelines allow. Then check the practical test: loading the dishwasher while someone else opens the refrigerator. If doors collide or one person is trapped, reject the sketch.
Test shapes against the paths. Try one-wall, galley, L-shaped, U-shaped, peninsula, and island options against the traced movements instead of picking a favorite shape early. A U-shape can shorten walks between major appliances, but only when traffic is kept out of the work zone.
Keep three options and compare trade-offs. Judge the survivors on seating, storage, run length, and how the kitchen affects adjacent rooms. Ask any contractor you interview to present at least three layout options before pricing; 9Builders works this way on kitchen remodels so homeowners can weigh the trade-offs before committing.
What the Sequence Protects Against
Door collisions found on paper cost nothing. The same collision discovered after cabinetry is set means a dishwasher that opens halfway or a refrigerator handle that blocks the room entry for the life of the kitchen. The drawn swings and clear-floor rectangles in step five exist to catch exactly that.
Utility routes decide the budget more than shape does. Keeping the sink, range, and refrigerator near existing supply, drain, gas, and vent runs is cheaper to build than relocating them for a prettier plan, so the measurements from step two should veto layouts early rather than surprise the bid later.
Confirm the winning concept on site before cabinets are ordered. Structural posts, existing windows, and plumbing stacks in older Bay Area homes regularly shift a cabinet run by inches, and inches are the whole game here. If the only way to get a proper aisle is removing a wall, the open-concept kitchen remodel guide for Bay Area homes covers the structure and permit questions that decision raises.
Cabinet style waits until the plan passes the path test. Doors and finishes don't change where feet go, and feet are what break layouts.
Layout Shapes for More Than One Cook
A weekday evening tests the plan: one person at the range, a kid spread across the counter with homework, a laptop open near the toaster, and a guest drifting toward the refrigerator for a drink. A layout drawn around a single cook guarantees collisions with the other three uses. The 2025 NKBA kitchen trends report found that 90% of surveyed professionals said homeowners remodeling after working from home want better functionality and aesthetics, and 91% expected multifunction appliances to grow in popularity.
The same NKBA report showed 52% of respondents seeing interest in a second island and 83% in sinks with dedicated prep and serving areas. Those numbers describe what homeowners are asking for. They say nothing about whether a second island belongs in a mid-sized San Jose kitchen, where zoning usually solves the problem more cheaply than furniture-scale cabinetry.
Zone First, Then Choose the Shape
Put heat and noise at one end. The range and dishwasher belong away from the laptop or homework edge, so steam and wash cycles don't land on schoolwork. Use the outer side of a peninsula for non-cooking tasks such as serving, homework, or a morning coffee perch, and keep a clear path from the room entry to the refrigerator that never crosses the cook's aisle.
Storage follows the same logic. In the NKBA report, 87% of surveyed professionals expected homeowners to want concealed pantries or integrated storage. Open shelves look airy in photos, yet a household that cooks daily usually needs doors that hide small appliances and bulk food. Planning a concealed pantry early keeps prep counter from turning into permanent storage.
Zoning also changes how big a room reads. A plan that gives cooking, seating, and through traffic their own edges feels noticeably more spacious than the same square footage left as an open box. That separation comes from placement: where the stools sit, where the pantry door lands, which side of the peninsula carries the homework.
| Shape | Fits best when | Main risk |
|---|---|---|
| One-wall | A studio, junior unit, or single-car garage with plumbing on one wall | Long walking path and little separation between tasks |
| Galley | A narrow room and mostly one cook | The aisle becomes the hallway to other rooms |
| L-shaped | Cooking in a corner while people pass on the open side | Dead corner storage and a prep run that is too short |
| U-shaped | A dedicated cook zone with no through traffic | Too tight if opposing counters cannot meet the 60-inch access check |
| Peninsula | Seating or homework without a freestanding island | The peninsula blocks the only route past the kitchen |
| Island | Aisles of 42 to 48 inches remain on the working sides | Plumbing, power, and structure cost more than the island improves the walk |
Check each row against the aisle standards before falling for a photo. A galley that serves as the only route to bedrooms will frustrate everyone, however efficient it looks. An island counts as an upgrade only when the working aisles survive it.
Pick the shape that survives two people moving at once. A layout that only works for one person standing still belongs in a showroom.
When a Larger Kitchen Is the Wrong Move
The most expensive assumption in kitchen planning is that more square footage fixes a frustrating room. The 2025 U.S. Houzz Kitchen Trends Study found that 64% of renovating homeowners kept approximately the original kitchen size, while 35% increased the footprint. Among the households that expanded, 29% took space from a dining room and 12% from a living room, and some built a home addition to get the kitchen they wanted.
The spending side is harder to ignore. The same Houzz kitchen trends research put median spending on major renovations of large kitchens at $72,000 in 2024, up from $66,000 the prior year. That figure is a national median, and it leaves out the value of the dining or living space surrendered to get the bigger room. Treat it as a warning about scale.
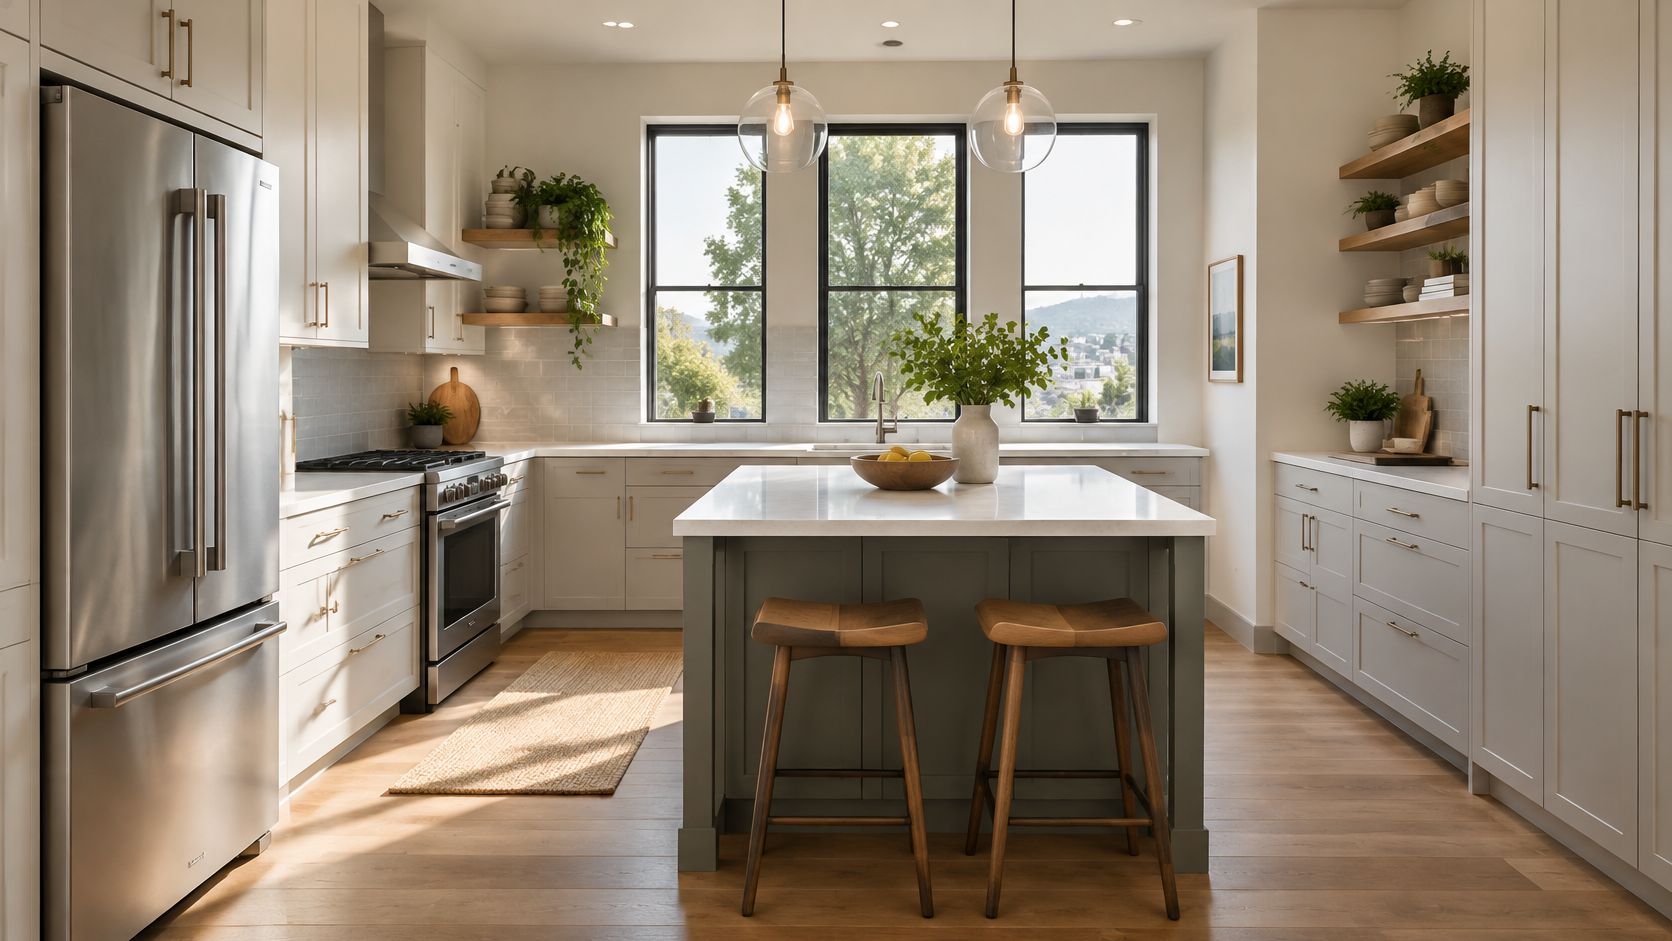
The island kitchen below is the kind of reference image homeowners bring to an early planning meeting. Treat generated imagery as design inspiration; the layout still has to prove itself in inches.
Score the Existing Room Before Demolition
Before enlarging anything, grade the current footprint on five measurable items:
- Storage per linear foot: Full-extension drawers and a real pantry often beat extra floor area.
- Landing space: Counters beside the refrigerator, range, and sink where hot or heavy items can be set down.
- Work aisle: Whether the one-cook or two-cook aisle can be reached by shifting a run rather than a wall.
- Daylight: Whether tall cabinets or a moved wall would block the best window.
- Vent path: Whether the cooktop can exhaust outside without a long, awkward duct route.
If three or more of those items can be fixed inside the existing walls, expansion buys floor area while function stays flat. Moving a sink, gas line, electrical service, window, or structural support spends real budget without shortening a single walk between zones. Shorter movement paths, better prep surfaces, and accessible storage improve every meal. Added floor that lengthens the work triangle slows cooking down.
The short video below walks through the same layout reasoning visually, which helps when weighing a stay-in-place rework against taking space from the next room.
Bay Area Reasons to Pause
In an older San Jose or Peninsula house, ask whether the wall you want gone is structural and whether the city requires a permit for that change. Load paths and seismic detailing make wall removal an engineering question before it becomes a design one. Each building department applies its own process, so a checklist that worked in one city does not transfer cleanly to Sunnyvale, Palo Alto, or anywhere else.
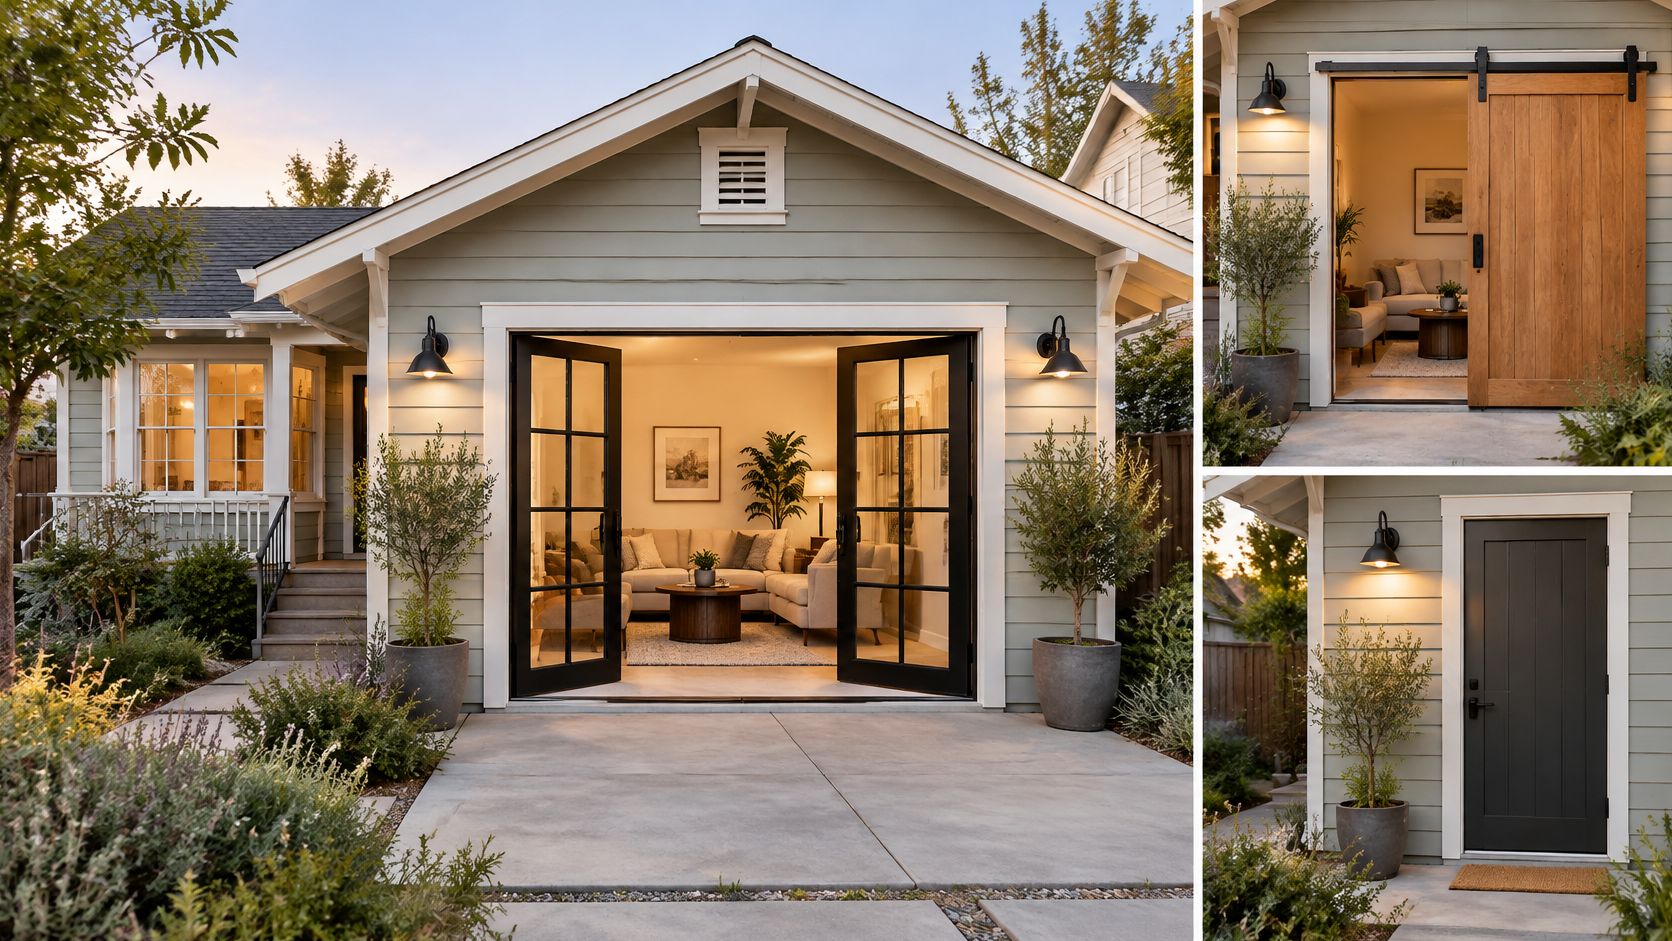
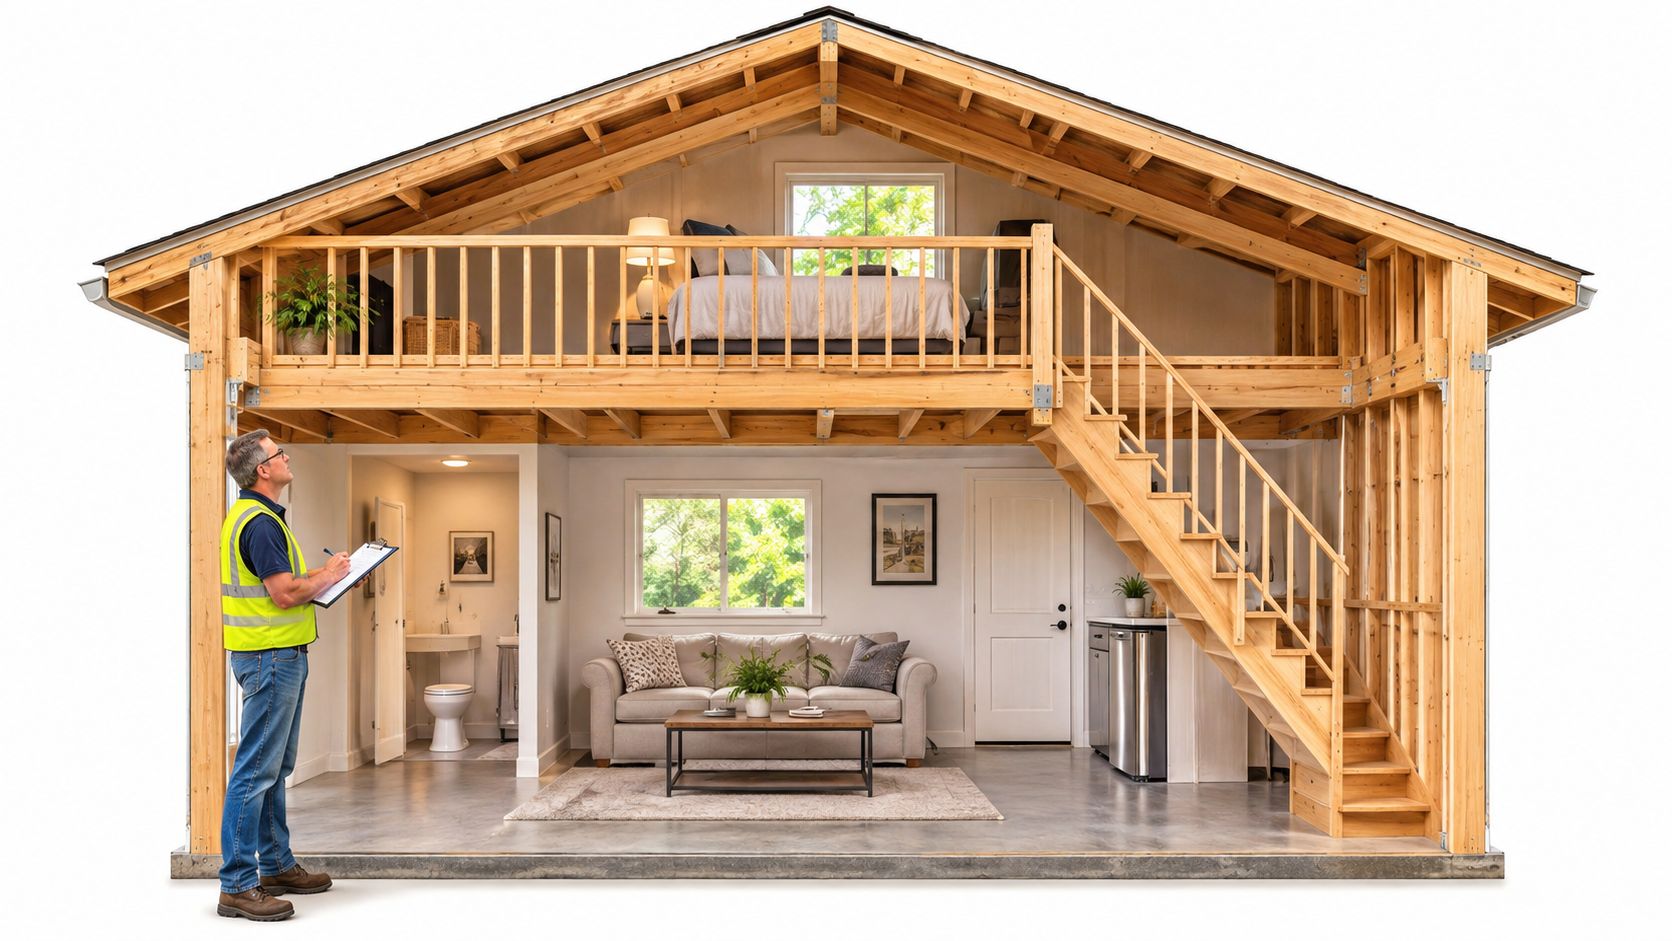
The same caution applies inside accessory dwelling units. A kitchen in a new ADU or garage conversion should be sized to what the local ordinance allows on that lot. In a single-car garage conversion, the only practical plan is an open studio with the kitchen and bathroom sharing one wall, so every inch the kitchen gains comes straight out of the living area it was meant to serve. The ADU floor plan design guide shows how unit size shapes the kitchen run, and the detached ADU versus garage conversion cost comparison shows how unit type changes what the kitchen can include.
Stay and rework when the aisle and landing space can be fixed without giving up the dining table. Expand only when the scored failures refuse to solve inside the room that already exists.
Layout Mistakes to Catch Before Ordering
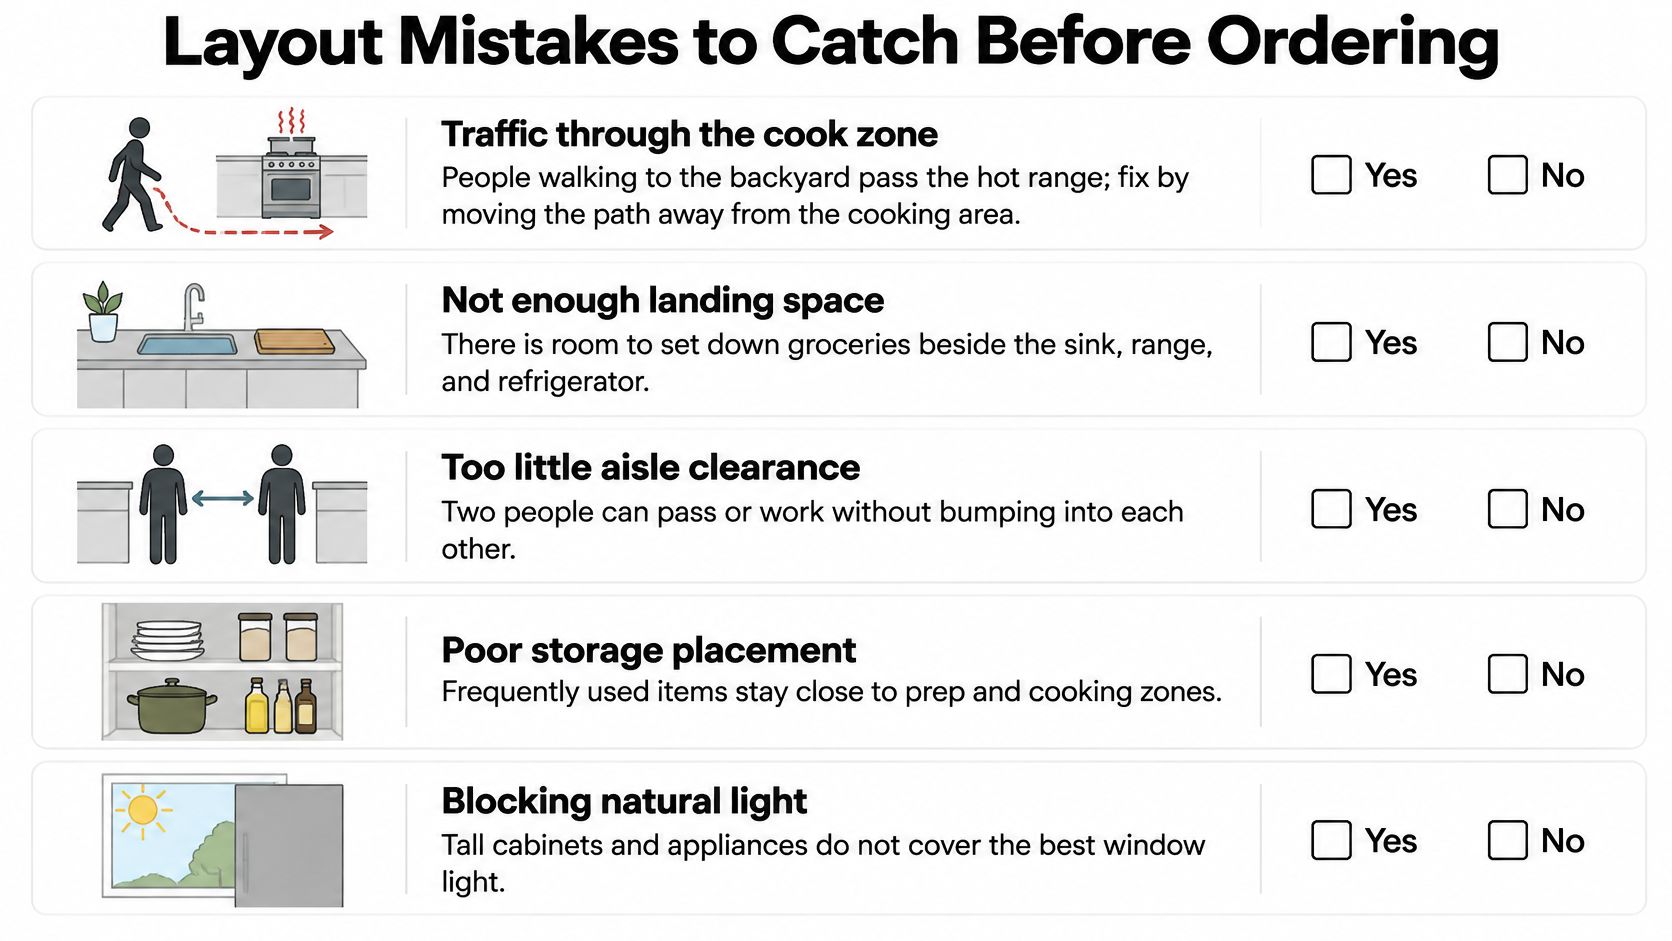
Cabinets are the point of no return. Once boxes are ordered, layout fixes become restocking fees and schedule delays. Run the plan through these eight yes-or-no checks first, and mark each one pass or fail on the drawing itself.
Eight Failure and Fix Pairs
- Traffic through the cook zone: People heading to the backyard pass the hot range. Fix it by moving the traffic edge to the outside of the cabinet run.
- Island too large: It matches a photo but leaves too little aisle once the dishwasher opens. Fix it by shrinking the island, not the walkway.
- Sink stranded on a short wall: There's no landing space on one side for dishes or produce. Fix it by sliding the sink along the run until both sides have usable counter.
- Swing door hitting the refrigerator: Common in studio and garage kitchens where arcs overlap. Fix it with a pocket or barn door that keeps the floor clear.
- Open shelves replacing a needed pantry: Display storage can't absorb bulk food and small appliances. Fix it by restoring a concealed pantry and keeping shelves for a few daily items.
- Range with no vent route: A window or beam blocks ducting. Fix it by relocating the cooktop to a wall that can vent outside.
- Accessibility ignored: A household member needs turning room or knee space the plan doesn't provide. Fix it by redrawing around those clearances before ordering.
- Oversized bathroom or hallway in an ADU: Extra square feet given to a bath squeeze the kitchen run below usefulness. Fix it by reallocating floor area to the room used three times a day.
Why Compact Kitchens Still Work
A compact kitchen works when every foot has a job. The U.S. Access Board ADA standards for kitchens set minimum clearances for pass-through and U-shaped kitchens in covered settings, and tight planning has a long track record. Margarete Schütte-Lihotzky's Frankfurt Kitchen, designed for 1920s apartment housing, packed a continuous counter and built-in storage into a footprint smaller than many modern primary baths.
The same principle shows up in garage conversions. In a single-car garage, the practical answer is an open studio with the kitchen and bathroom run along one shared wall, where apartment-size appliances and pocket or barn doors keep the floor clear. The room reads small on paper and works large in daily use.
One caution before the deposit goes out. The work triangle is a planning guideline, not a code any city inspects. Permits and inspections follow local building rules, which is a separate check with the building department.
A paid cabinet deposit should come after eight passes on paper. Any fail is a redraw, not a compromise to live with.
Kitchen Rules for ADUs and Garage Conversions
A kitchen inside an ADU or garage conversion is limited first by the unit's allowed size and second by the permit path. Layout work that ignores either one produces drawings that can't be built as drawn. Size the kitchen run only after the unit type and local limits are confirmed.
| Rule | Value | Source or note |
|---|---|---|
| Detached ADU maximum size | 1,200 sq ft | State guidance |
| Attached ADU size | Generally up to 50% of primary dwelling floor area | State guidance |
| Smaller local maximum, one-bedroom ADU | Up to 850 sq ft | Local ordinance may set this |
| Smaller local maximum, ADU with more than one bedroom | Up to 1,000 sq ft | Local ordinance may set this |
| San José non-livable accessory building, no electricity or plumbing | No permit at 120 sq ft or less | Does not cover livable ADUs |
| San José non-livable accessory building over 650 sq ft | Building permit and special-use permit | Does not cover livable ADUs |
State Framework Versus Local Process
The California Department of Housing and Community Development ADU handbook identifies 1,200 square feet as the maximum size for a detached ADU and generally up to 50% of the primary dwelling's floor area for an attached ADU. A local agency may set smaller maximums of up to 850 square feet for a one-bedroom unit or 1,000 square feet for a unit with more than one bedroom. Confirm the city's ordinance rather than designing to the state ceiling automatically.
San José's accessory buildings and structures guidance says a non-livable accessory building of 120 square feet or less needs no permit unless it includes electricity or plumbing, while structures over 650 square feet require both a building permit and a special-use permit. Those rules expressly don't cover livable ADUs. A garage gaining a kitchen and bedroom follows the ADU path, not the shed path, and the ADU permit process overview outlines how that sequence typically runs.
Legalizing an Existing Unit
For unpermitted units already built, San José offers two defined routes. The city's ADU Amnesty Program starts with a third-party initial inspection that produces a report of required work, followed by professional plans, permit submittal, corrective construction, and inspections.
The city's AB 2533 ADU and JADU Legalization Program applies to units built or converted before January 1, 2020, when the owner can document that date. It requires a Substandard Housing Checklist, as-built plans drawn to scale, and an ADU Property Owner Declaration, with corrections to substandard conditions completed before legalization.
Both paths matter for kitchens. An existing kitchen may need corrections to ventilation, electrical work, or clearances before it can be permitted, and the as-built plan must show what exists. Separate investigation and design costs from corrective construction costs in any proposal, and ask which conditions are confirmed versus still unknown.
These summaries don't replace the local ordinance. Confirm current requirements with the city building department before finalizing the layout, because rules in San José don't automatically apply in neighboring cities.
Questions to Settle Before Construction
The last decision is a three-way one: remodel in place, expand the main house, or build the kitchen inside an ADU or garage conversion. Comparable contractor proposals make that call possible. Vague proposals turn it into a gamble, because a low number with no stated scope often costs more than a higher bid that names its assumptions.
Questions That Make Proposals Comparable
- Show the measurements on the drawing. Ask the contractor to mark the work triangle legs and the one-cook or two-cook aisle directly on the plan, not in a side note.
- Name the structural assumptions. Which walls are assumed load-bearing, and what happens to the price if an engineer disagrees?
- Separate the money. Design fees, permit fees, and construction costs should appear as distinct lines, with assumptions and exclusions written out.
- Identify the permit scope by city. Which work needs a building permit in the property's own city, and which items stay unknown until a site check or plan review?
- Map the inspection path. Ask which inspections apply and what final sign-off requires, from rough work through completion.
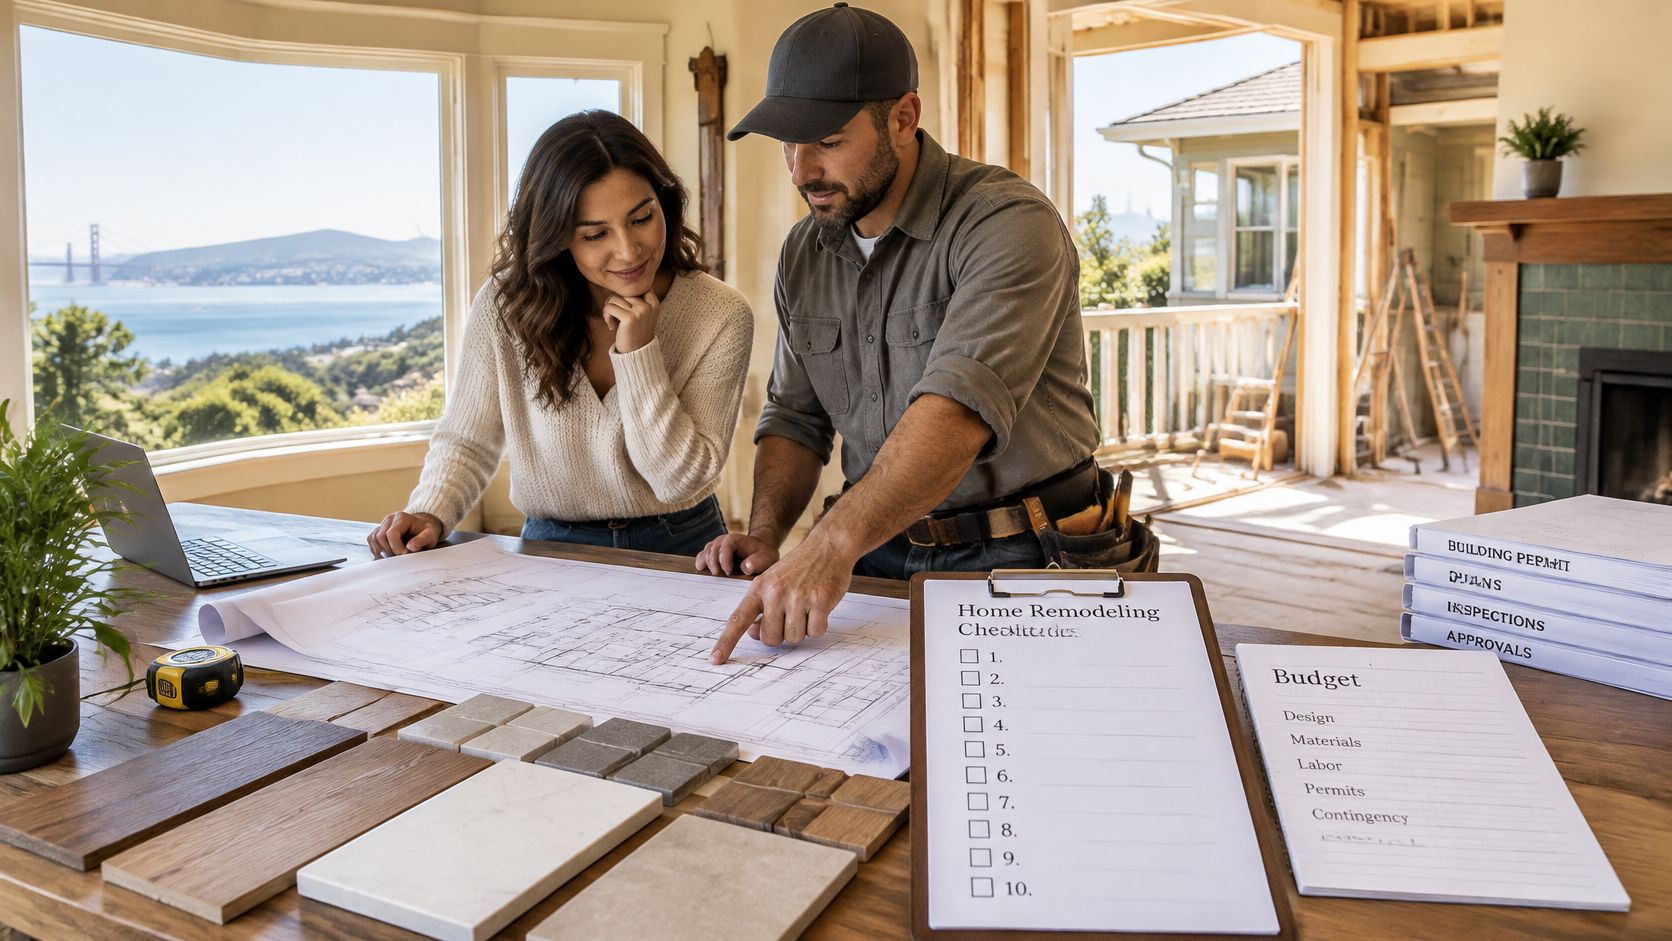
A home remodeling checklist keeps those questions consistent across bids, so each contractor answers the same list.
What Moves Cost and Schedule
Estimates move for predictable reasons. Relocating plumbing, gas, or electrical service costs more than keeping fixtures near existing lines. Removing or adding a bearing wall brings engineering and framing. Changing windows, upgrading cabinet and countertop grades, and cutting a new vent route through a roof or wall all shift the number. Treat any figure as an estimate tied to stated conditions, because a price without assumptions isn't a real price.
Timelines deserve the same caution. A kitchen or bathroom remodel usually takes 4 to 8 weeks of construction, while permit review, utility work, and structural changes sit outside that window and vary by city. Ask for a range with the conditions attached rather than a fixed completion date, and treat any guarantee of permit approval as a red flag.
Before signing: The proposal should state what's included, what's excluded, and what's still unknown. Missing any of those three means the comparison isn't finished.
9Builders, based in San Jose, offers both kitchen remodeling and ADU design and construction, so a single proposal can price the remodel and the conversion against the same scope.
To compare those paths on a real property, send the property address, a short description of how the household cooks, and a budget range through 9Builders. That is enough to start pricing whether to rework the existing kitchen, expand the house, or build the kitchen as part of an ADU.
Written with the Outrank tool